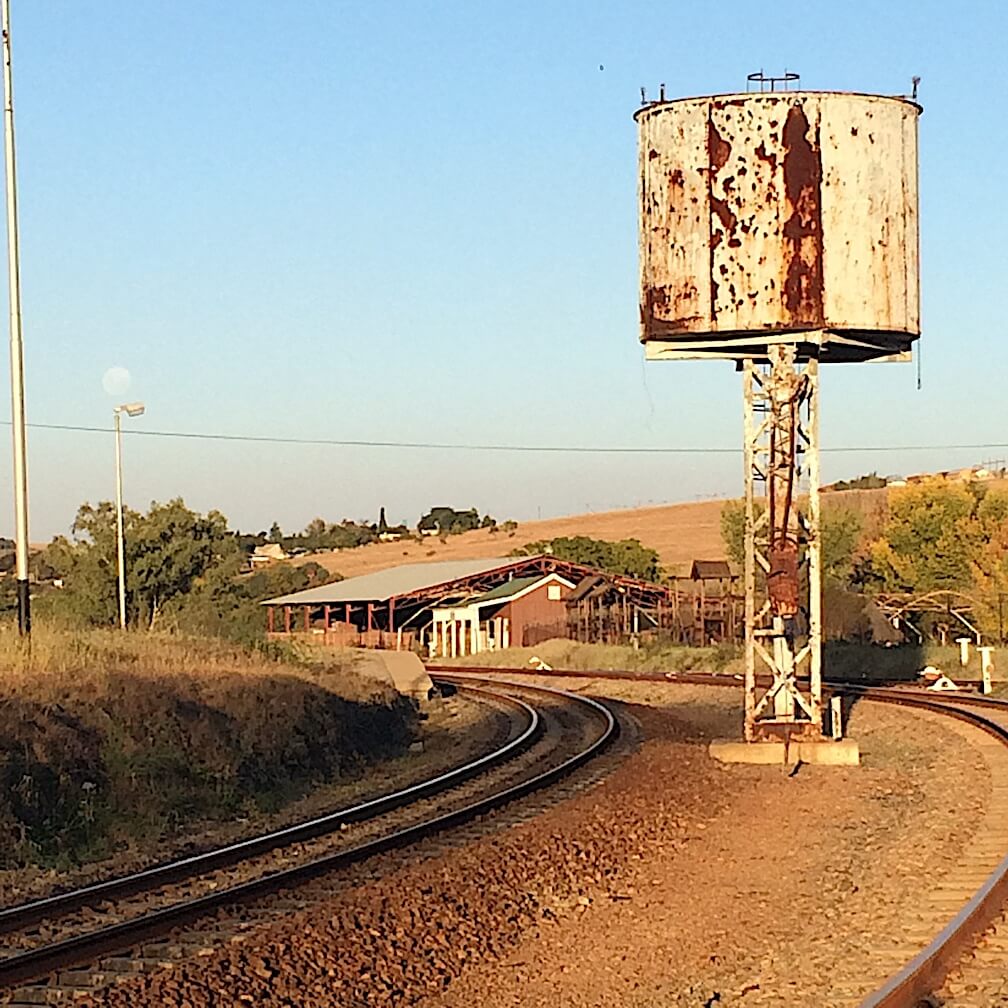
Backlighting

In a previous article, we spoke about the concept of magical light, the light that precedes a sunset or sunrise. In this article, we will explore a different way of using light which in some respects goes against the rules yet the two work hand in hand as well. Good light is an integral part of landscape photography although the quality is important the direction has a very important role to play as well. We were often told by lecturers never to shoot directly into the light but you will be mistaken if you follow this advice and will end up with pictures that are flat and lack vibrance.

To liven up your pictures shoot towards the sun and you will get a backlit landscape with deep contrast, silhouettes and long shadows. It’s a technique known as “contre-jour” which is French meaning “against daylight”
You will find that leaves, trees and foliage stand out when lit from behind, even common things like weeds can take on a particular beauty. Your results will have incredible depth and atmosphere.

It does, however, require practice and will also initially result in some spoilt, disappointing pictures. But perseverance will eventually come with its own reward.
Obviously, mornings and evenings offer the best results when the temperature of the light is cooler. This type of photography is best done using your cameras LCD screen as opposed to the viewfinder from a safety perspective as the sun has the potential to damage your eye especially if using a longer focal length lens.

Your lens should be spotlessly clean and only use a filter if absolutely necessary as you could risk flare when composing your shot. I suggest that you use the “live view” mode on your camera to assist when composing a backlit shot. When shooting with longer focal length lenses a lens hood is good for eliminating flare but bear in mind that they are impractical with wide-angle lenses, here you can use a hand or a piece of card to stop the flare. Post-production also presents the opportunity to tidy up the flare. That being said in some pictures some flare can provide an element of drama, it’s in the eye of the beholder.
Exposure compensation in increments of a half stop will allow you to ensure that the picture is not too dark, do not simply rely on the camera’s meter.
One should start well before sunrise or sunset as the position of the sun affects the whole process and the level of contrast you will obtain. When the sun is high you get less contrast and shadow though, shadows are important in composition as they tend to lead a viewers eye into the picture. Wide-angle lenses often give the most interesting three-dimensional results. Shooting into a thicket or grove of trees gives great results as the trees reduce the intensity of the sun. This creates a moody, dramatic picture. Various landscapes benefit from this technique, its works well with trees, mist and even seascapes. And as I mentioned previously do not be afraid to play with the sun and create a sunburst ( sun flare ), it can be very dramatic under certain conditions. Various lenses are better suited to this effect so it will be worthwhile experimenting to see which lens delivers the best result. At the most extreme end of the scale, a well-backlit image will be one continuous silhouette, a bold dark outline. Here the subject selection is important otherwise the result may simply be a dark messy blob.

Initially, you may find this type of photography challenging, in time and with practice, you will find it exceedingly rewarding.


