
Doing it the right way
It’s an inconvenience no matter where you are, a flat tyre tends to happen at the wrong time and place. But they happen. On one of our trips, the tyre pressure warning gauge indicated a flat early one morning en route to Verneukpan, changing the tyre was a comedy of errors as the jack did not have sufficient reach to allow us to put the “Marie biscuit” spare on which was a different size so some ingenuity was required. We never learnt from the experience and literally, a year later had a flat on the same tyre just outside of Sutherland with the large telescope in full view. Needless to say, we kept our appointment and did a rapid tyre change.
Regular checking the condition of your tyres in terms of the tread depth and sidewalls is crucial and helps avoid a flat. However, potholes, bad roads, sharp stones or even thorns can strike at any given time. Then if you have a locking device for your spare tyre ensure that it’s accessible, nothing worse than having a flat and not being able to remove the spare.
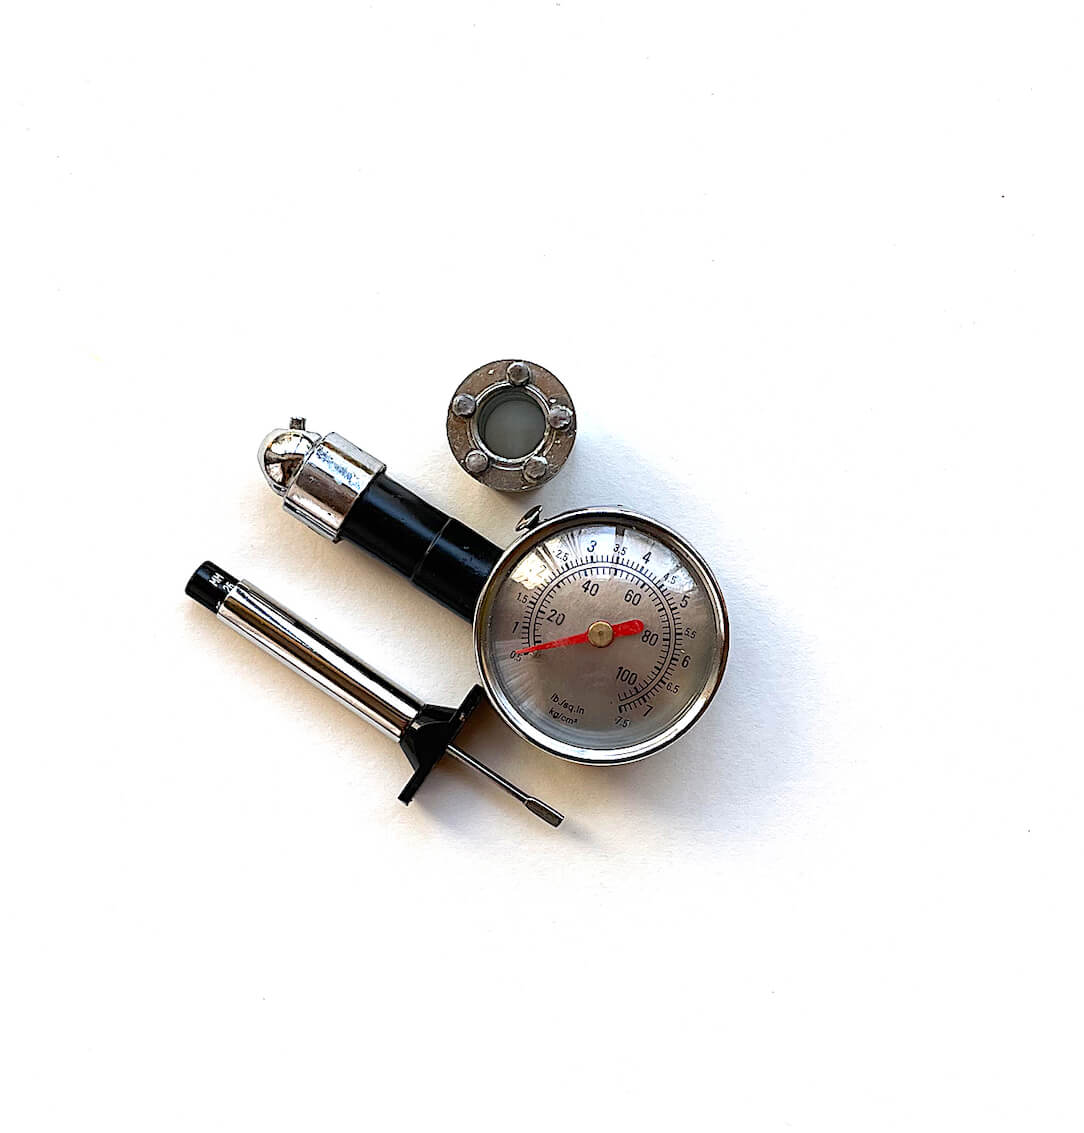
Inflation at the recommended pressure is also important for the life of the tyres and fuel economy.
But when a flat happens you must follow the correct procedure. If the flat takes place while driving stay calm and control the vehicle, brake gently to slow down as harsh braking could result in a loss of control. When it is safe to do so pull over to the verge as far away from traffic and look for a level area as it is dangerous to change a tyre on a sloped surface.
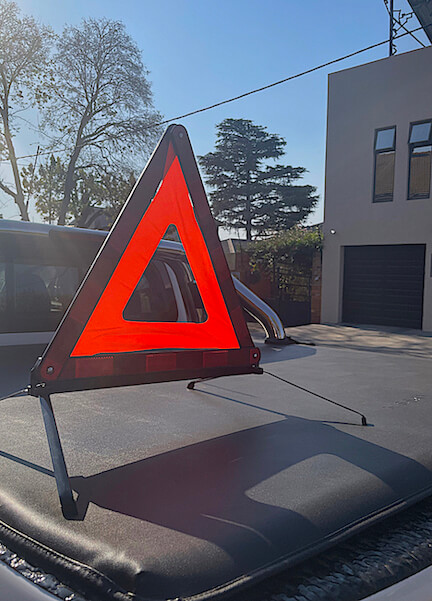
Stay calm and engage your handbrake, if the road is busy put your hazard lights on to indicate that you have a problem.
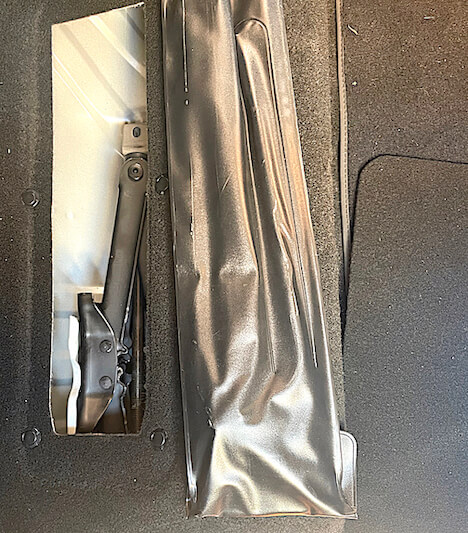
Then locate the spare tyre, the jack, the jack operating handle, the wheel spanner and your warning triangle.
Put the warning triangle in a visible position, remember this is a compulsory piece of equipment in terms of the Road Traffic Act.
It’s good practice to know where all your equipment is stored and how it works. Also regularly check that your spare tyre is pumped to the correct pressure. Familiarise yourself with the owner’s manual to check how to remove the spare wheel as well as knowing the location of the jacking points. Jacking points are important as should you not use them you could cause damage or the vehicle could even fall off the jack.
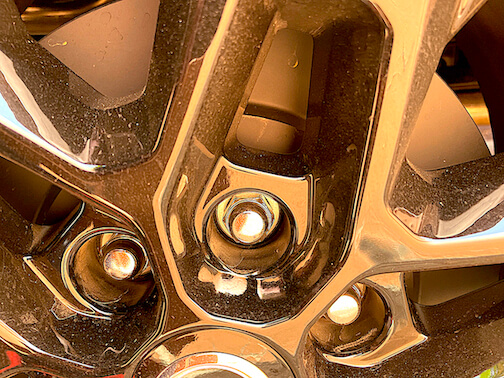
Position the jack close to the flat wheel, but before lifting the vehicle take the wheel spanner and slightly loosen the wheel studs or nuts. They could be very tight especially if the rim is hot.
Then raise the vehicle using the jack until the tyre is off the road surface. From a safety perspective, I always put the spare tyre under the axle closest to the flat tyre in case the jack fails. Then fully loosen the studs or nuts and remove the flat tyre. Remove the spare from under the vehicle and replace it with the flat tyre. Keep track of your studs and nuts as it is easy to lose one, especially in grass or gravel. I always travel with a canvas tarpaulin and lay the tools and studs or nuts out on it to keep them visible.
Put the spare on the hub and hand tighten the nuts or studs. Check the manual as most manufacturers recommend a tightening sequence. If in doubt use a “star” sequence rather than a clockwise or anti-clockwise direction. This ensures that the wheel is correctly centred.

Then use your wheel spanner to tighten the studs or nuts, and next lower the jack until the tyre is in contact with the road with the vehicle’s full weight.
Remove the jack and fully tighten the nuts or studs in the same sequence. You can then put away your tools and the flat tyre. And you are ready to travel. Do not forget your warning triangle.

One last tip, I carry light gloves to protect my hands and keep them clean. They are inexpensive and work like a charm.
Safe travels from all of us at Cross Country.
